

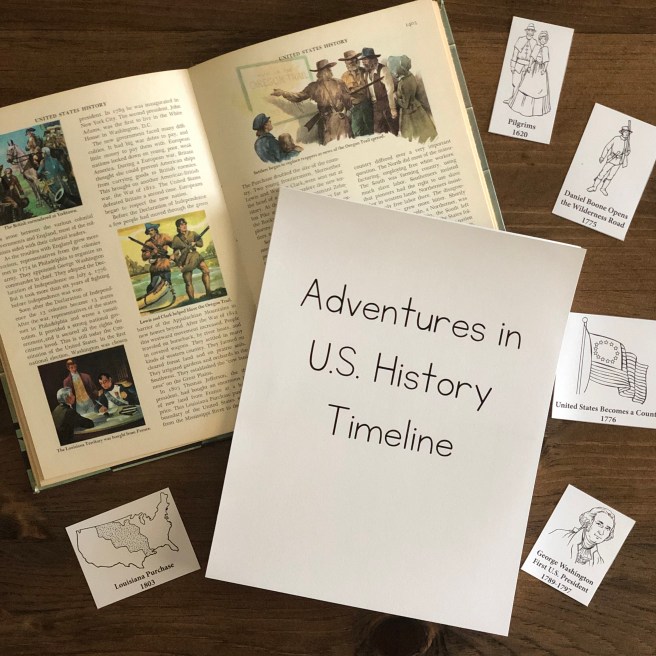
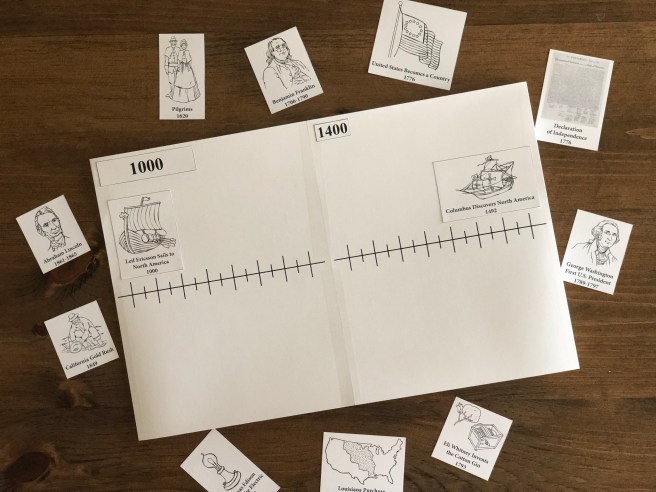
For our curriculum last year we made a timeline of the Bible. We used My Father’s World First Grade – Learning God’s Story. It suggested just putting the timeline images on a wall, but we have little to no wall space in our homeschool room. The space we do have is already utilized. So I needed to come up with a solution that would work for us. I’ve seen several accordion style timeline books and I knew that would be the best for us. I didn’t see any templates I liked so I made my own. I just created a simple line with dashes. I didn’t want to add dates because I knew we would be added them ourselves later. I also wanted to use as little paper as possible because I hate wasting paper. So this timeline isn’t necessarily spaced by dates properly. But I just wanted to get the gist of the timeline out to my daughter.
To create the timeline I precut all of the images and dates and spaced them out in my hallway. This helped me to determine how many papers I needed to print out. Once I had them printed out I taped each piece together using clear tape. I only taped one side and it has held up great. I used a glue stick to attach the images and a sharpie to write the dates. You can also laminate the sheets before taping them together. I would have done this step but my laminator broke when I tried to laminate leaves. (Don’t laminate leaves btw 😂)
Here’s a video of how I put together the timeline for this year for U.S. History.
We love that we can still open the timeline in our hallway and see everything, but it’s not taking up the wall space that I don’t have.
I thought maybe you guys might like a printable so you can make your own! Just click below to download and print off as many as you need.
I would love to see your timelines if you use my printable! Please tag me on Instagram @WithHisGrace. I can’t wait to see how you create yours!

2 thoughts on “Space Saving Timeline”